Friday, November 30, 2012

Baptism of fire for Vendetta 03


It was a night of many firsts: 1st game with my IG in 6th Ed, 1st time using a Lord Commissar, 1st time using Priests since the ancient days of 3rd Ed - and the 1st time using my Vendetta since I finished it a year and a half ago. In fact, it's the first time I've used any of the IG assault flyers ever since the Codex came out a few years ago.

And it was a blast! Flying into battle on the enemy flanks is definitely a tactical multiplier, and while the Vendetta did not actually shoot down any of the 2 enemy Stormravens, it caused enough worry and damage to totally disrupt the enemy. The Vendetta came off pretty well, causing 2 hit points on each of the Stormravens, forcing one to hover (stunned) whence it was finished off by Leman Russ battle tanks. It also destroyed a Razorback and drew all kinds of fire, suffering 1 glancing hit (from a bolt pistol).

My first IG 6th Ed list itself was pretty fun to play. It's not as big as my 5th Ed infantry lists of 105-125 infantry, but it was hefty enough with 78 infantry and 5 vehicles. The biggest drawback of the list is that it had very few scoring units (only 4 after I combine the platoon infantry squads), and I must admit that I am not accustomed to so few for my IG. The list:

HQ:
Company Command - w standard bearer and vox caster
Lord Commissar - w power fist
2 Ministorum Priests - both w eviscerator, one also w shotgun

TROOPS:
1st Platoon:
Command - Lt. w close combat weapon & bolt pistol, vox caster, grenade launcher, meltagun
1st Squad - Sgt w power sword & laspistol, Commissar w power axe, vox caster, meltagun, krak grenades
2nd Squad - Sgt w close combat weapon & laspistol, meltagun, krak grenades
3rd Squad - Sgt w close combat weapon & laspistol, meltagun, krak grenades

2nd Platoon:
Command - Lt. w power sword & bolt pistol, vox caster, grenade launcher, meltagun
1st Squad - Sgt w power sword & bolt pistol, vox caster, meltagun, krak grenades
2nd Squad - Sgt w power sword & bolt pistol, meltagun, krak grenades
3rd Squad - Sgt w power sword & laspistol, meltagun, krak grenades

FAST ATTACK:
Vendetta

HEAVY SUPPORT:
Assault Tank Squadron
2 Leman Russ Demolishers - demolisher battle cannons and hull & sponson heavy bolters

Leman Russ Squadron
2 Leman Russ - battle cannons and hull & sponson heavy bolters

Next time I'm going to keep the regimental standard bearer at home and use the points for heavy bolters on the Vendetta and an extra grenade launcher or flamer for either 1st or 2nd platoon Command Squad.

The Emperor Protects!

Thursday, November 29, 2012

Belated update from France. Better late than never.


You may have guessed it - I started a new job in September, and was literally swept away with work. Completely forgot to update my last campaign game in our France 1940 FOW campaign.

It was a brilliant battle against Mark's BEF. I was really cocky at the start of the battle and actually charged his lead platoon with my PzIIs. And I learnt the hard way how effective those little 2pdr guns can be. Needless to say my PzII platoon was torn to shreds, and the 2 surviving tanks bottled out.


After the initial setback, my troops dug in and waited for reinforcements. The pioneer platoon dug in to cover my right flank while the center and left flanks were covered by the Luftwaffe 88 battery and supported by the CO and the 2iC platoon. In the meantime, the 88s got invoved in long-range counter-battery fire against the Britsh artillery, with Stukas joining in the action as appropriate. The combined and consistent shooting eventually wore down the British batteries, and they were never a real threat in the battle.


The British reinforcements in the form of infantry and mortar platoons, supported by Matilda I's came in from my right flank. The dug-in pioneers were more than enough to discourage the advance of those tanks. Fortunately for me, the British infantry advanced cautiously, deciding to go from wood to wood.


Why this was fortunate for me was because it allowed precious time for my reinforcements to reposition from my far left flank and into battle on the right flank. One light platoon, one PzIII platoon, and the 2iC platoon combined to make a complete mess of the flanking British infantry. And to make sure the British didn't have any ideas about moving his 2pdrs to support those infantry, one of my light platoons hung around behind a hill on the left flank, within charging distance of the British lines should he decide to move his ATGs.

The combined tank platoons and Stuka strikes eventually decimated the British flank attack, and my tanks were now sweeping into assault positions behind a wood. Then it was time to for the final assault, and as one, the 3 tank platoons of the main assault on the right flank struck forwards, while the platoon lurking on the left flank charged the British positions in front of them, thus drawing the deadly 2pdr battery fire away from the main attack. The platoon carrying out the diversionary attack was decimated, losing 4 out of 5 tanks, and the survivors hastily fled the battlefield. But it was not in vain, for the main attack swept up the British right flank and garnered victory for the Germans.


Only one infantry platoon survived on the British side. I lost 2 tank platoons, and while the 88 battery was technically still there, I had lost both guns.

A superb end to an amazing campaign! Thanks Mark for such a brilliant game. Seeing 2 nicely painted armies on a nicely built table in a campaign game with a strong narrative is always too much fun!


And after that game, it was back to 40k! I had resumed work on the AirCav, with all remaining squads now primed, and 3rd squad currently being painted. Vendetta #3 is being assembled. Should be good. Also, the Dark Vengeance box is a great distraction, and combined with the Dark Angels models from another DV box, plus a whole bunch of marines I've had assembled for a long time now, I think I have most of 1st and 3rd Companies to go along with my Ravenwing. Then there's the Chaos codex, and I've got the Hellbrute all primed and ready to go ...


so much hobby, so little time ...

Saturday, September 15, 2012

5PD encounters minor setback in France


Having missed the first week of the campaign, light companies from 5th Panzer swarmed into France, making tremendous progress before being blocked by French forces under Le Nicque (bolstered by a truly unflappable platoon of British Guards, who no doubted caused the Frenchies to perform uncharacteristically well).

This was my first EW FOW game, and I must say I love it!!!! It's truly awesome. Playing the Germans, I learnt (a bit late) that manouver is key to victory. Static units like my 88s need to be carefully deployed as the rest of the force is highly mobile.


As it turned out, I could have deployed those deadly guns better. They didn't get much chance to shoot, but when they did, they easily disposed of their targets. But overall, my light tank company accounted for themselves really well, fighting the Anglo-French force to a standstill before being forced to fallback to regroup (how about that for well-crafted propoganda?).

I was slightly disappointed by my Stukas. French air cover was more effective than expected, driving away my Stukas about 5 times, but the couple of times the Stukas did come in they were pretty deadly.


It was also loads of fun to use the Pz I and early Pz IIC tanks. Being Armour 1 all-round, I really didn't worry at all about enemy firing into the flanks of those formations. The Pz III platoon were playing the role of heavy tank support for the company, and they were pretty effective as less mobile fire platforms.

Pz IIs are awesome! I might just see how I can form 2 platoons of those, as they are really effective tanks. The first kill of the battle (and the first kill by this brand-new army) was by a Pz II sneaking up the flank of a French Somua platoon.


There were a couple of short and sharp point-blank range tank melees. I think it's a valid tactic, but I need to plan and manouver those better next time.

My pioneers played their role really well. They were dug-in in forward positions on the left flank, and advanced with Pz IIIs and Pz IIs after the panzers and Stukas had softened up the enemy. Then they assaulted the enemy tanks, capturing the objective and promptly digging in to hold the objective.

Anyways, it was a blast! Had tons of fun, and learnt a lot from Le Nicque. Now I need to go find more Pz IICs!

Saturday, September 1, 2012

Leichte Pionier and Luftwaffe 88 support ready to roll


I'll need to get more pics of this Leichte Pionier platoon up. Really had fun painting these guys, although it's only a small platoon, and I have yet to paint their trucks. The pioneers will lend some much needed engineering support for my advancing panzers, and will also come in handy to hold objectives.

The real fun part about painting this unit is that it's exactly the same as other infantry units, but being early war, I was able to do some different stuff (as opposed to late war). Like having their trousers painted in grey to contrast against the field grey of the tunics. Also, some tiny white markings on the left side of their helmets to suggest the eagle decal which was on Heer helmets in the 1940 campaign. And being pioneers, these guys have black lines on their shoulder tabs instead of the white for the regular infantry.


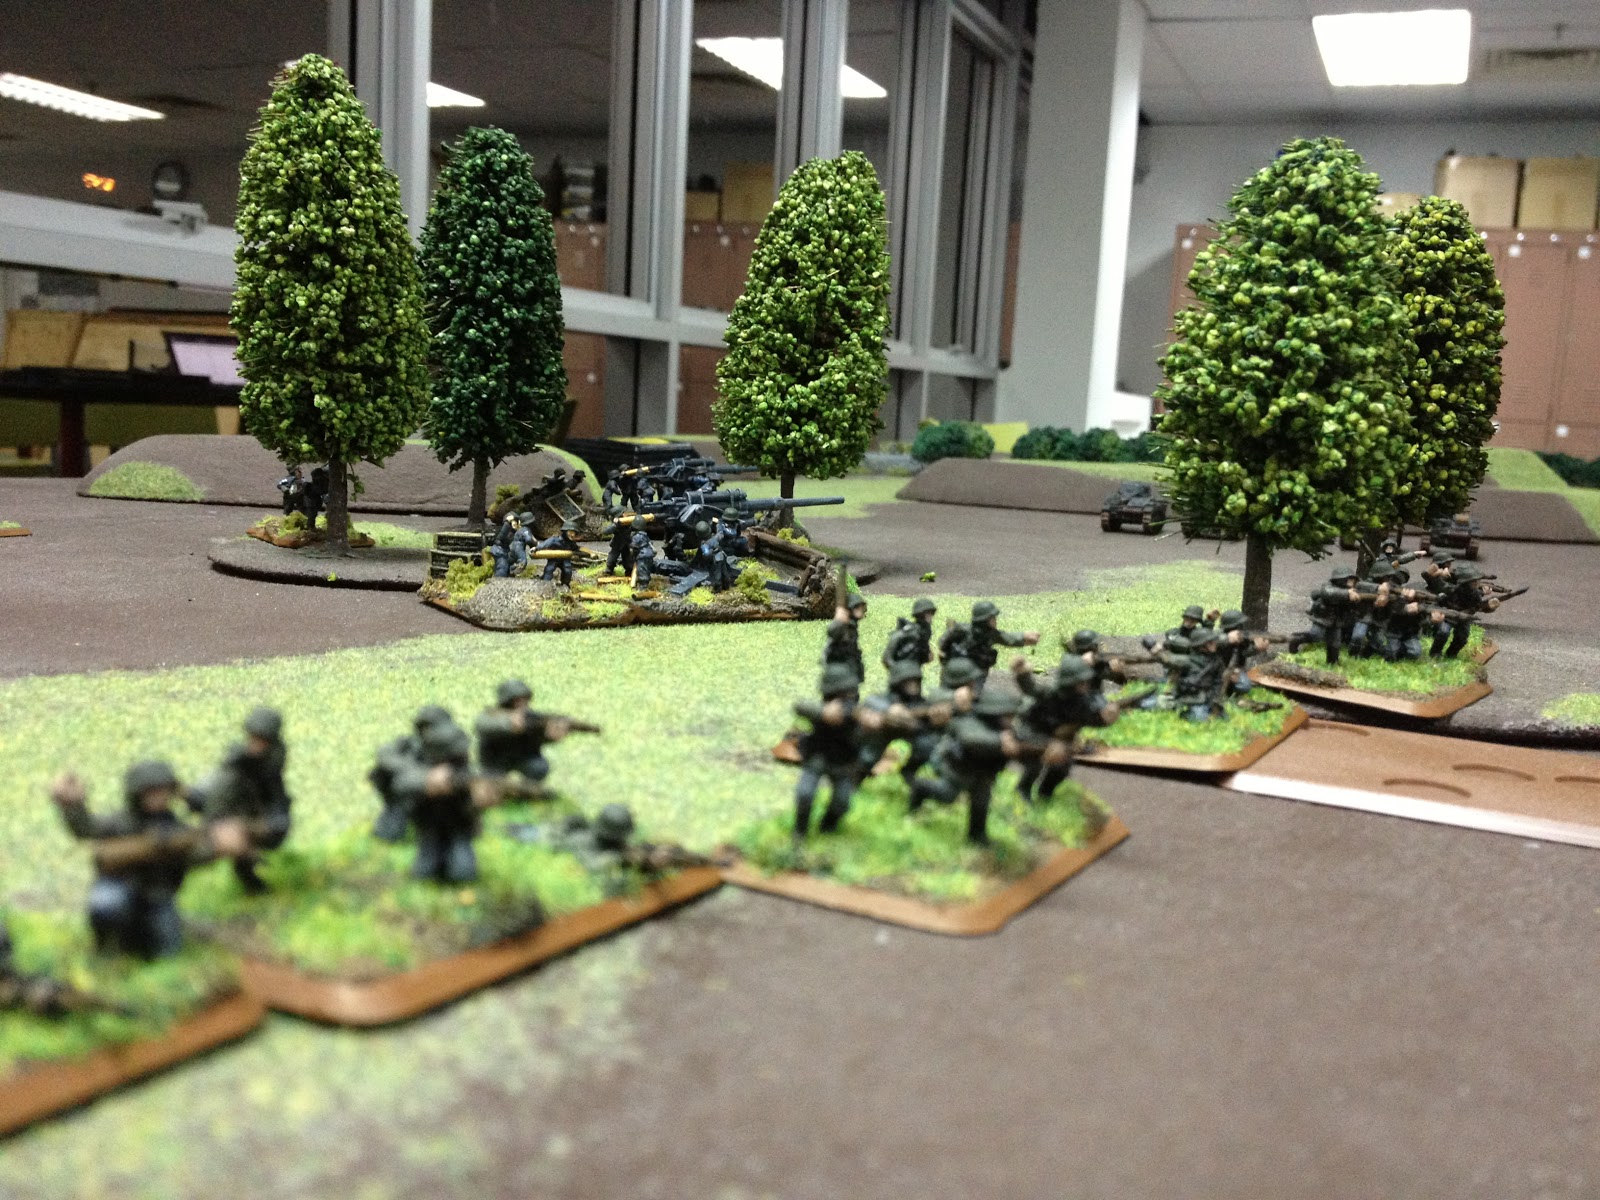
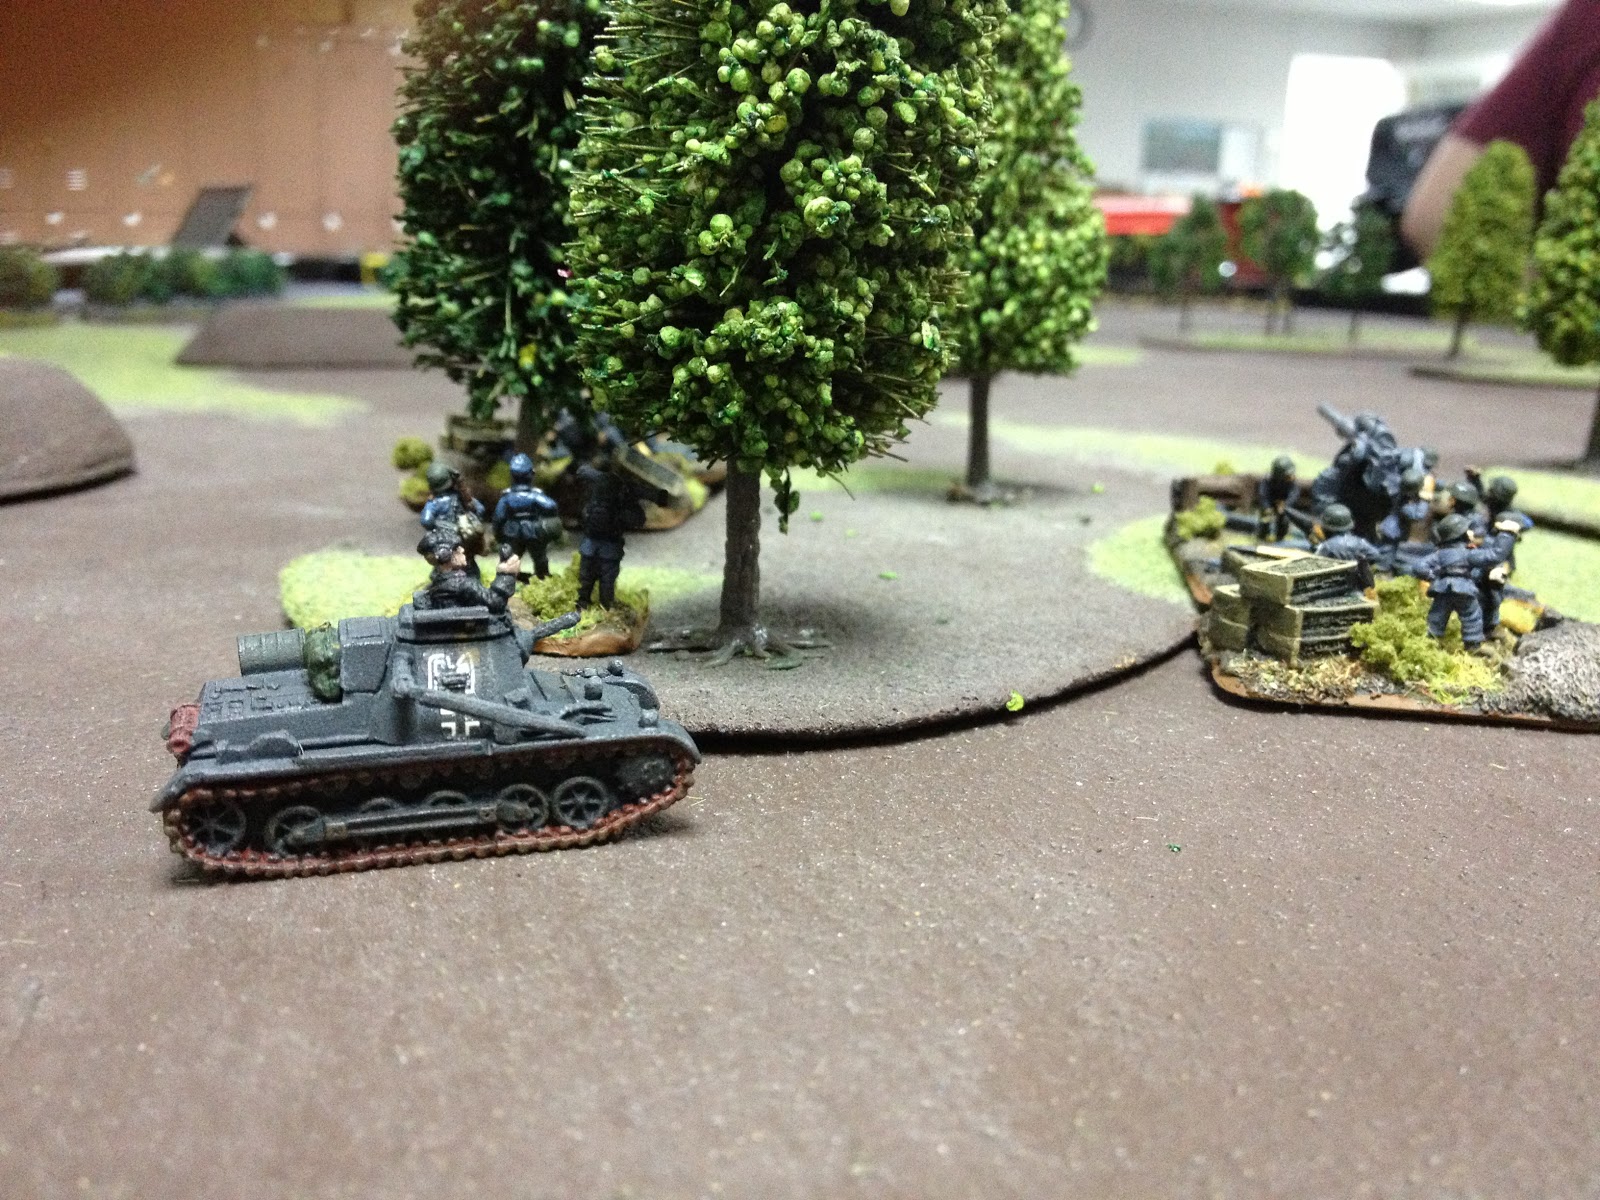
These Luftwaffe 88s will be sorely needed in the upcoming campaign, what with the expected stiff defence from French and British heavy tanks (and the fact that being a Leichte Panzerkompanie, the guns on my PzII and PzI tanks will probably need some help). These guys and the Stuka support will be most welcome (though don't expect my boys to start cheering Goering too loudly).

I thought I was being clever by repainting my late-war 88s for this unit - until I discovered that the crew are wearing late-war style boots!!! By that time it was too late to change course, and I finished painting the battery in early-war colors anyways, hoping that people won't catch the offending boots (and won't be reading this blog either). The fun bit about painting these guys are the red details on collars and shoulders denoting Luftwaffe gunners, and the little lines on the left side of the helmet to suggest the Luftwaffe eagle.


Anyways, my 5PD detachment is just about ready for the invasion of France. Only the Stuka needs to be finished, and that's almost done. Totally looking forward to the campaign!

Wednesday, August 15, 2012

More Progress for 5PD!


The tanks are nearly done! 2nd platoon got done last night, and that's the last combat platoon in the company. I must say the decals are the most fiddly part of the whole process. I just realized that the pic above shows the left side of the tank. The tank numbers on the right side of the tanks got peeled off when I got a bit too rough with the weathering. I'll leave it as that for now, but will go back and add extra stowage or something to hide the missing numbers.

The pic below are the tanks from Company command, with the 2iC getting the super-cool Panzer IIC, while the boss rides aroun in his little command tank. This platoon's almost done - weathering and final spray tonight.


Also, tonight I should be able to finish priming the Leichte Pionier platoon (7 stands of rifles) and the Stuka. And then we're just about ready to drive south through Belgium and into France!

Tuesday, June 26, 2012

Leichte Panzerkompanie: Progress!


The mark of a great campaign like the recent Legio Firestorm Bagration campaign is that it inspires you. And true enough, after a long hiatus, I revisited my FoW Blitzkrieg project - a Leichte Panzerkompanie.


When I left the project, I had finished a platoon of Pz II C and was midway through a Pz III E platoon. I painted the tanks with 9PD insignia, as this was one of the light panzer divisions operating in France. But my late-war 5PD force in the recent Bagration campaign did so well that I switched to 5PD instead. The other good reason for me to switch to 5PD was it was one of only 2 panzer divisions which used 2-digit vehicle numbers instead of the usual 3.


So for the past week, this is what I did:

1. Re-did the list based on my increased experience as a FoW commander
2. Painted German Grey over the 9PD insignia on my Pz II (3rd) platoon, and painted on the 5PD insignia
3. Finished painting the Pz III (4th) platoon
4. Went back and redid the tracks and weathering on the Pz II platoon
5. Basecoated all my remaining tanks in German Grey spray
6. Finished painting 1st platoon, a mix of Pz I and Pz II
7. Started prepping the Leichte pionier platoon


This hobby night, I'll start painting 2nd platoon, made up of a Panzerbefehlswagen, 2 Pz I and 2 Pz II. The army at 1750 points will be made up of the following:

Company HQ - 1 Panzerbefehlswagen, 1 Pz II, 1 Pz I
1st platoon - 2 Pz I, 3 Pz II
2nd platoon - 1 Panzerbefehlswagen, 2 Pz I and 2 Pz II
3rd platoon - 5 Pz II
4th platoon - 3 Pz III
Leichte Pionier platoon - 7 stands pioneers
Luftwaffe 8.8cm FlaK 36 - 2 guns with additional crew
Priority air support - Ju-87 Stuka, schwerpunkt


Out to 2000pts, and as an alternative to the 88s is a Panzerschutzen platoon of 7 stands and 4 halftracks. And you know what, I probably need some mortars too. And a Pz IV platoon would look good too, come to think of it.

Anyways, I'll focus on 1750 first, and we'll see what happens when the Blitzkrieg campaign opens up.

Monday, June 18, 2012

5.panzerdivision truimphs at Bykhov again!

 
Once again, our brave panzertruppen of 5.panzerdivision defeated the enemy hordes at Bykhov. Having just been returned to the line to man the defences at Bykhov, 5PD was assailed by hordes of Soviet infantry, supported by rocket artillery, self-propelled guns, heavy tanks and Sturmoviks. To make matters worse, by sheer bad luck the Soviets had managed to cut off Bykhov in the previous week, and our troops were fighting with very low supplies. But instead of letting this bitter situation get the better of them, this only served to strengthen their resolve, each man prepared to fight to the bitter end if need be.


As is usual throughout this campaign, 5PD was badly outnumbered. Two huge battalions of Soviet infantry were deployed on the right flank, no doubt intent to swamp our lines. They were supported by two IS-2 heavy tanks, a mortar company, an HMG company and a huge battery of around 14 Katyushas. The left flank was covered by a company of SU-122.


Against this horde, the 5PD detachment mustered up 7 Pz IVH, 6 StuG IIIG, 3 Panther A, 3 Pz IIL, 2 platoons of panzer pionier and a battery of 2 Luftwaffe 88s.


The 5PD detachment was spread throughout the frontline. They had fought on this ground before and was able to use that experience to their advantage. The two objectives, one on each flank, were defended by the trusty panzer pionier. The Pz IV platoon, led by the company commander himself were deployed on the far left against the SU-122s. The Luftwaffe 88s deployed in the center to make full use of their superior range. Interspersed between the guns was the Panther platoon. The right flank was brought up by the 2iC in his Pz IV, 2 platoons of StuGs, with the Luchs recce platoon deployed forward.


The most daunting part of the enemy force was his huge artillery support, and that became a priority target. Also, the enemy's right flank was definitely his weak spot, with only 5 SU-122 covering it. This is something my Pz IV can take care of at range, especially with the help of the 88s. The Panthers were tasked to take out the enemy heavy tanks. The StuGs were to target the Katyushas while sweeping up the right flank with the Luchs platoon. At any rate, 5PD will have to close with the enemy fast or face incessant bombardment from both the Katyushas and Sturmoviks.


Seizing the initiative, 5PD moved into the attack. The right flank advanced aggressively, as the StuG platoons spread out while opening fire on the Katyusha battery, destroying only 4 launchers. The Luchs platoons scouted ahead on the extreme right and tested the Russian defences there, gunning down some enemy infantry in the process. The opening round of fire from the Pz IV platoon was not impressive, killing only one SU-122 and forcing another to bail out. The Panthers did not fare any better, and their shots did not find their marks.


The Russian hordes advanced on our right, with both infantry battalions marching headlong towards our lines. A horrible fiery Katyusha bombardement was unleashed on the 88s' and Panthers' position, but after the explosions, smoke and dust, only one 88 was destroyed. Mortar fire on the same area also failed to do any damage. Then on the right flank, the crazed Soviet hordes charged the Luchs platoon with SMGs and grenades! A hail of MG fire from the Luchs and nearby StuGs cut down scores of Soviet infantry, but they still kept coming, such is the unstoppable wave of the Soviet horde. But as man and steel contacted, the enemy infantry failed to do any harm to the light tanks, but were instead further decimated by the merciless point-blank MG and autocannon fire. Goaded by their commissars, the Russians threw themselves into the fray again and again until only a few remained, and even despite their  fearless nature, such were the losses that they fled the battlefield.


Taking advantage of this fortunate turn of events, the Luchs swept up the right flank, with the StuGs in close support. The Panthers stood their ground to concentrate fire on the Russian heavy tanks, and this time the IS-2 company was quickly reduced to smoking ruin as shell after shell found their mark. Likewise, the Pz IV platoon and 88s focused their fire on the SU-122s, quickly  destroying all but one. On the right flank, the Luchs platoon and one of the StuG platoons opened fire on the surviving SMG battalion, thinning their ranks, while the remaining StuG platoon opened fire on the Katyushas, destroying only one. Then the order came - "Panzer vorwart!" - and the entire German tank line advanced as one.


On the extreme right, the Luchs and the StuGs assaulted the enemy infantry. In a short but sharp fight, the Soviet SMG battalion was cut to ribbons and fled off the field. The Soviets were now in a hopeless situation. They had lost all their armor and most of their infantry, and the Germans on both flanks were barreling down on them. In true Soviet style, the Katyushas brought down a fearful barrage on the German forward right fank, with rockets falling on their own comrades still manning HMG positions! Fortunately for the Russains, the infantry were able to find whatever cover they could and came through the bombardment relatively unscathed. Unfortunately for the Russians, the German tanks survived largely unscathed too, with only two tanks forced to bail out. The Russian commander frantically called for air support, but mysteriously, the Sturmoviks did not turn up (really really bad roll).


Then it was time for the coup de grace, as 5PD tanks advanced into the kill. On the right flank, the StuGs and Luchs platoons assaulted the enemy HMG company defending the objective, easily cutting them down to the man and securing the objective for Germany. The remaining forces advanced and opened fire on the Katyushas, finally destroying all launchers. There was nothing more that the Soviets could do, and the handful of survivors of the onslaught retreated off the battlefield.


This had to be the shortest and sharpest FoW battle I had ever experienced. The battle was pretty much one-sided, with the Soviets really lacking in anti-tank assets. A battery or two of ATG would have changed the situation entirely. And this showed in the tally as well. The Soviet force lost 6 of its units in just a few turns, while the Germans only lost a single 88 gun and crew.

It turned out that this was to be the final battle for 5P in this Bagration campaign. Bykhov was held, ensuring that supply lines to Mogilev remained open. The battle also resulted in the retaking of Slavgorod, further securing the German position.


This campaign turn had been nothing short of monumental for the Germans. Although they gained strategic initiative only once, they had managed to win all but one of the battles fought during the campaign turn. The Germans lost Orsha, but also cut off the fallen city by taking Dobryna. The Russian Smolevichi salient was squeezed out and the southern flank was further secured by German victories in Berezina and Zhlobin.

The Bagration campaign is over. History has been rewritten. Victory to the German forces!